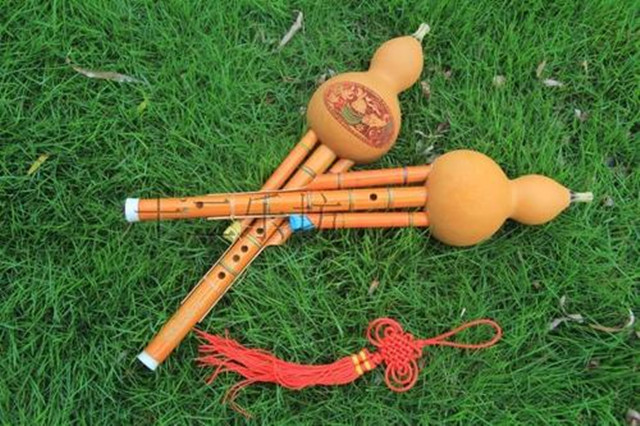
Hulusi Circulation Ventilation Air Nozzle Practice Teaching
After we learn how to recirculate, we can start practicing with the empty mouth.
The first step, "mouth breathing normally" (using abdominal or chest-abdominal breathing)
The second step, "oral storage of air" (maintain the normal exhalation of the first step, expand the oral volume, and the exhalation cannot stop)
The third step, "exhale through the mouth, while inhaling through the nose" (the exhalation in the previous step is stopped, and the exhalation is changed to squeeze the cheeks and exhale, and at the same time, the nose quickly inhales to the abdomen, don't overfill, just enough)
The fourth step, "receiving air" (the remaining half or one-third of the air in the mouth has not been squeezed out, continue to squeeze the cheeks to exhale, and at the same time slowly exhale the air that was inhaled into the abdomen in the previous step, and the air generated by squeezing the cheeks is not exhausted. breath together)
(Many people use a straw to blow air into a glass of water, but if the bubbles can be created without interruption, it's okay)

Hulusi goes to school to practice circulatory ventilation:
When the empty mouth is familiar with the practice of circulating ventilation, it can be practiced on the cucurbit silk.
First of all, you can practice on the bass 3 (tunnel tone is 5), because it takes less air to play the bass 3. For example, you can practice on the cucurbit flute in the key of B flat, major G, and major F; you can also practice on the cucurbit in the minor D key. Because the minor D key requires less air, you can practice both with the attached pipe closed and with the attached pipe open, and practice each tone. For beginners, due to the small force of squeezing the cheeks, it is easy to interrupt the circulation of ventilation when encountering sounds that require a lot of air. So it's easier to practice in the minor D key.
Notes and points:
1. "Exhale through the mouth and inhale through the nose" is the key. It needs to be practiced more and can be practiced alone. Inhaling through the nose is shorter than squeezing the cheeks.
2. Don't wait until the last breath is almost finished before starting the cycle ventilation. The next cycle of ventilation begins when half or two-thirds of the last breath is exhaled.

3. It is difficult to connect the air. It is necessary to make a smooth transition (also called a soft landing). The volume cannot be suddenly increased or decreased, and the volume must be kept stable. Of course, this may be difficult for beginners, and it takes a period of practice to master it. , so be careful in your practice.
4. If you feel uncomfortable, such as chest tightness, suffocation, etc., you should stop immediately and take a rest before practicing.
5. When walking, riding, watching TV, etc., you can practice circulatory ventilation with empty mouth.
6. Learning circulatory ventilation must have the basis of abdominal and thoracic-abdominal breathing.
7. Be confident in learning, and don't think too difficult and mysterious about the circulatory ventilation method.
If you still can't find the main points after reading this Hulusi tutorial, then you can watch our Hulusi teaching video, which not only allows you to quickly learn Hulusi, but also allows you to practice better by referring to the movements of the characters.
 渝公网安备 50010702504639号